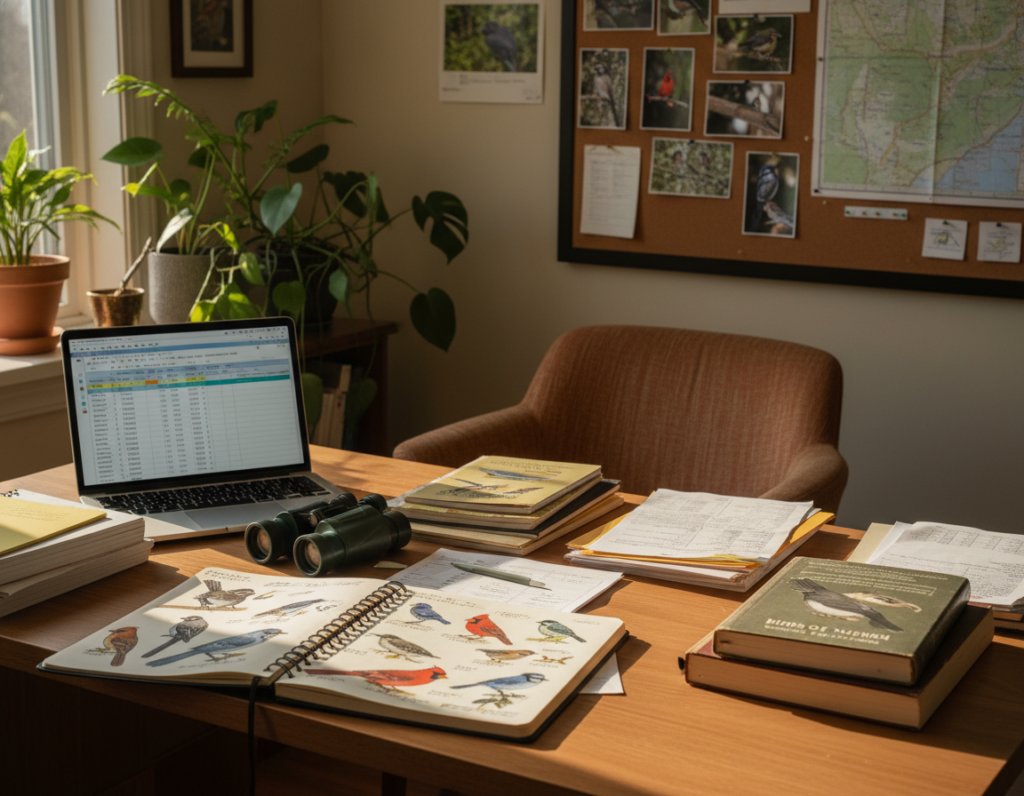
Mastering light around apartments and balconies makes the difference between a snapshot and a memorable image. He learns to watch the sun and its angle to place the subject where details stay crisp.
Practical experience shows that time of day and cloud cover change contrast, shadow, and exposure quickly. From a balcony, a photographer can use morning or late afternoon sun to avoid harsh back shadows that hide fine feathers.
The camera settings matter, but so does patience. By studying how light falls on the bird and the surrounding architecture, one can turn common scenes into striking images that rival pro work.
Mastering Bird Photography Lighting Tips for Apartment Balconies
Good results start with where the photographer stands and how the sun falls across the scene.
Direction matters: when shooting from a balcony, align the lens so the sun is behind the photographer. This position creates a sharp catch light in the eye and helps the subject show texture without deep, distracting shadows.
Canon Lesson 21 notes that pelagic cormorants show structural coloring. That coloring needs controlled exposure and the right angle of light to look like a professional portrait.
- Keep the sun behind you to get a clear catch light and balanced exposure.
- Use a wide aperture to blur the balcony background and isolate fine feathers.
- Watch how the sun hits the subject; change position when images look flat.
- Make the camera part of the scene—avoid busy backgrounds that steal focus.
With steady practice and attention to sun direction, even urban wildlife photography from a small balcony can yield striking images.
Optimizing Your Shooting Schedule for Ideal Light
Choosing the right time to shoot transforms ordinary balcony scenes into vivid, well-exposed frames. Planning around the sun helps control contrast and keeps the subject crisp in the frame.
The Golden Hour Advantage
Golden hour gives warm, soft light that flatters feathers and texture. The author once photographed a roseate spoonbill at sunset and found colors and details improved dramatically.
This time lets one lower shutter speed to capture motion without harsh shadows. For example, a willet shot in the evening required a gentler speed and produced a calmer image.
Avoiding Harsh Midday Sun
Midday sun raises contrast and can wash out subtle tones. When light is high, use a very fast shutter speed — the Pelagic Cormorant required 1/2000 second — or move to shaded positions.
- Plan time of day to match sun angle.
- Adjust aperture depending on light to keep the subject sharp.
- Favor early morning or late afternoon for best image quality.
Positioning Techniques to Enhance Subject Detail
Positioning is as much about movement as it is about angle when aiming to reveal fine detail. A simple shift can change how light falls across feathers and how the eye reads in the frame.
Using Your Shadow as a Guide
He should stand so his shadow points directly at the subject. This ensures the sun sits behind his back and delivers even front light on the subject.
Using this method helps align the camera, lens, and subject for consistent exposure and crisp detail. When near water, getting low emphasizes the eye and creates a cleaner reflection plane.
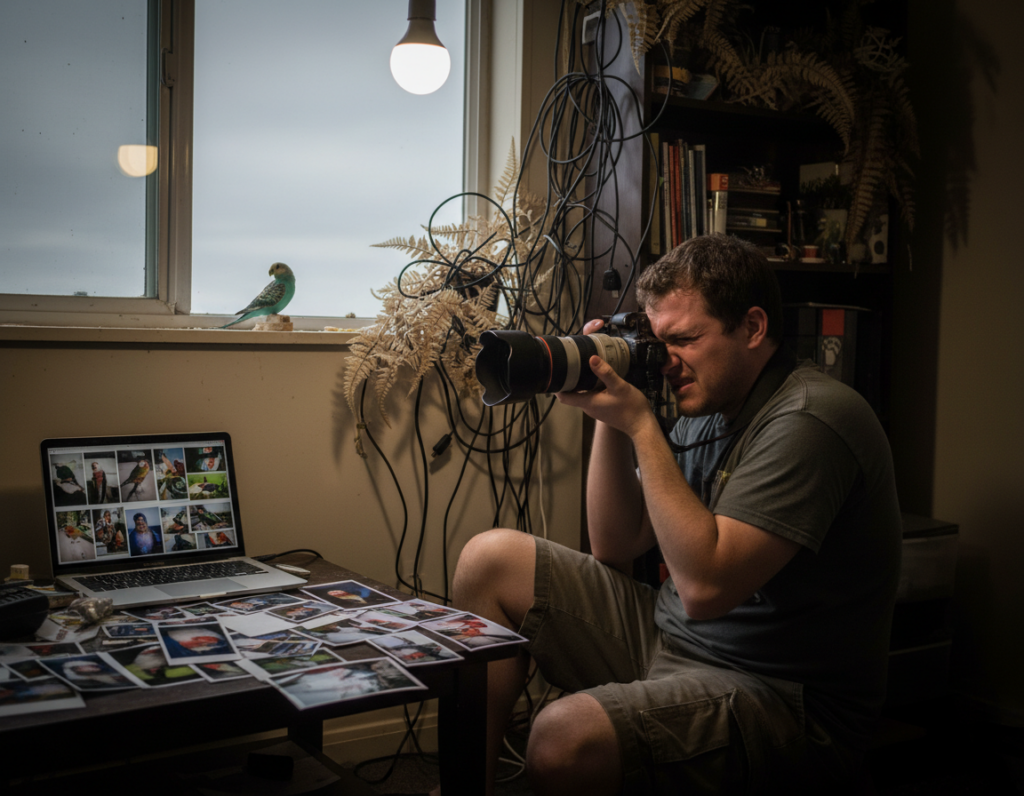
For long focal lengths, such as a 1000mm equivalent lens, stability is critical. Secure footing or a solid support reduces blur and keeps feathers sharp.
- Use your shadow to check sun direction before composing.
- Lower the camera near water to capture the subject’s eye and unique perspective.
- Adjust position so front light reveals feather color while managing background exposure.
These practical techniques improve camera control and lead to more professional images in urban and coastal settings.
Managing Challenging Lighting Conditions
When the sun hides or clouds thicken, practical choices keep images sharp and natural.
Working with Overcast Skies
Soft, diffuse light can flatter a subject and reduce harsh shadows. For example, when he photographed a blue heron at 11 AM on an overcast day, the result was a clean portrait with even tones.
Position the camera to catch the available light and keep the background uncluttered for a stronger subject contrast.
Adjusting ISO for Low Light
Raise ISO to preserve shutter speed when light falls. Using ISO 800 for a Pelagic Cormorant helped maintain a fast shutter speed without losing detail.
Balance noise and motion: increase ISO only as needed, then test shutter speed to avoid blur in flight or quick moments.
Stabilizing Your Camera Setup
Paul Konrad, who photographed a Red-crested Cardinal on Kawaii, stresses steady support. Wildlife photography often requires leaning a lens against a tree or building to reduce shake.
- Use a monopod or railing for extra support.
- Choose a faster shutter speed when backgrounds go dark or contrast shifts.
- Aim for a catch light in the eye even on cloudy days by adjusting angle.
Creative Approaches to Backlighting and Silhouettes
Backlighting can turn a routine balcony shot into a dramatic study of shape and edge.
Place the sun behind your subject to create a silhouette or rim-lit outline. To keep detail in the dark shape, deliberately underexpose the frame so feathers and form read as a bold graphic against a bright sky.
Use a fast shutter speed for flight shots. This freezes motion while the sun paints a bright edge around wings and body.
- Underexpose to ensure the subject stays dark and the background stays bright.
- Choose a mid to narrow aperture to control how much of the background blurs.
- Adjust direction light by shifting angle until the subject separates from the dark background.
He should expect to experiment with exposure and settings. Creative backlit shots add variety and show command of both camera and scene. For deeper reading on backlighting wildlife, see backlighting wildlife.
Conclusion
Mastering how shutter speed and aperture work together makes better images happen more often.
One must practice consistent settings for shutter speed and aperture to capture each moment cleanly. Paying attention to the time of day and the direction of the light helps control exposure and the final effect.
Whether one favors front light for detail or back for drama, the camera settings define image quality. Also, check the background before you press the shutter button to avoid distractions and blown highlights.
Apply these practical techniques and expect steady improvement in bird photography. For a deeper guide on harnessing natural light, see how to harness light.