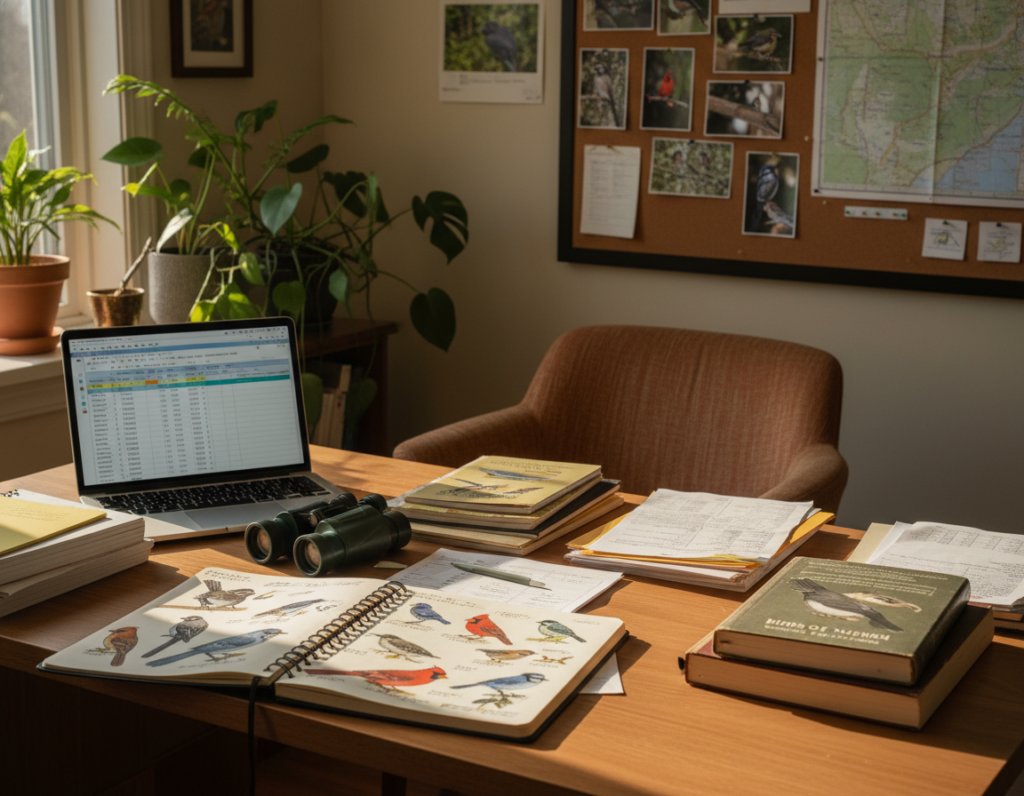
This brief intro outlines clear steps that help a photographer control glare and get sharp photos indoors. It stays practical and focuses on using the right camera habits and simple moves to improve each shot.
The Canon Bird Branch Project Lesson 21 shows that a shutter speed of 1/2000 second is often required to freeze fast motion. Pairing that speed with an aperture of f/8 and ISO800 gives balanced exposure for many indoor setups. These settings help lock the moment and keep the subject in focus.
Modern shutter and sensor tech make wildlife images crisper. Anticipating the subject’s behavior and shooting during active time greatly raises the chance of a standout image. Mastering these basic techniques produces photos that show fine detail and professional quality.
Understanding Light Sources in Indoor Bird Photography
How light enters a studio scene has a direct effect on feather color and shadow detail. Proper lighting choices help a photographer control tone and bring out texture in the subject.
Front lighting flattens shadows and reveals true color. The Canon Bird Branch Project notes that front light makes feather hues look most natural by minimizing harsh contrast. For controlled scenes, this is often the safest way to get accurate images.
Back lighting creates drama. When the sun or a strong lamp sits behind the subject, feathers can glow against a darker background. The Canon project warns that exposure must be adjusted so the subject does not become a dark silhouette.
Practical Tips
- Study the angle of light to choose the best camera position for detail.
- Use side lighting to add depth by carving subtle shadows across the frame.
- Adjust shutter speed and aperture together to balance exposure and freeze motion.
- See how golden-hour lighting alters tone with this guide: golden-hour lighting tips.
“Front light preserves color; back light highlights edge detail and creates mood.”
How to Reduce Reflections in Bird Photography Through Positioning
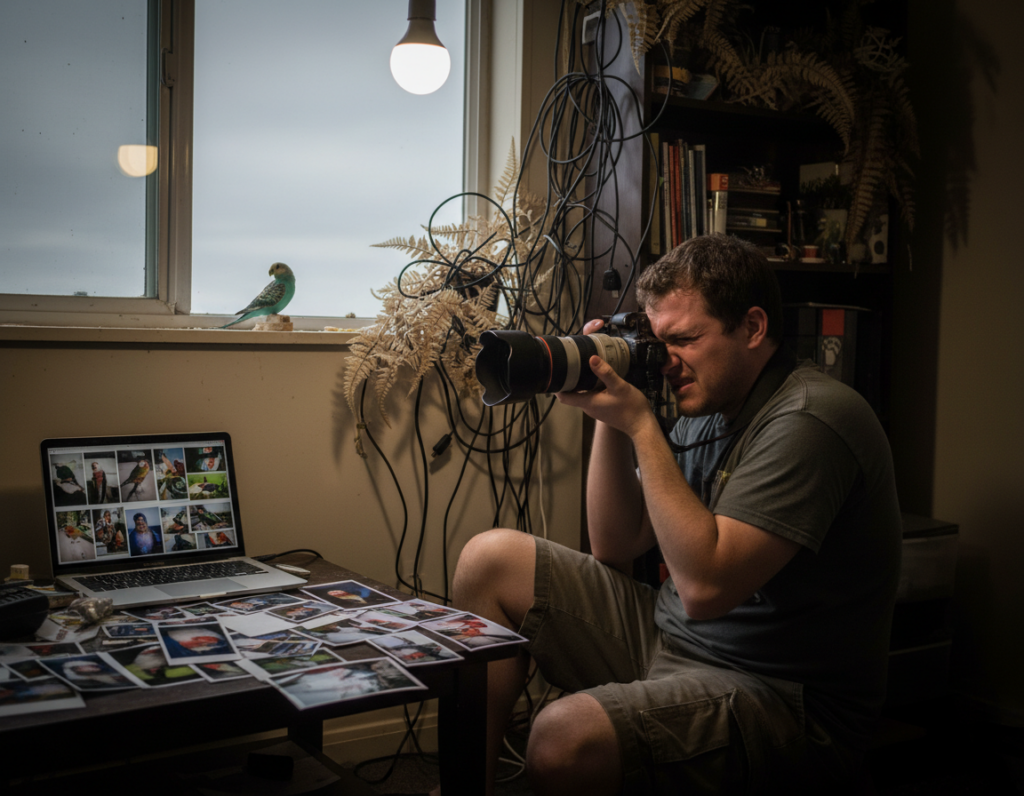
Small shifts in where a photographer stands can eliminate glare that spoils an otherwise great shot. Changing the camera angle alters how light meets glass or water and keeps the subject clear.
Watch the light source and the reflective surface. If the sun or a lamp creates direct glare, move a few inches left, right, up, or down. The Canon Bird Branch Project notes that tiny adjustments often make a big difference.
Photographers often pair a faster shutter with a narrower aperture to balance exposure near shiny surfaces. This helps freeze motion and tame bright spots without losing detail.
- Observe the angle between light and the reflective plane to find a cleaner shot.
- Shift camera height to change how the sun or lamp interacts with the scene.
- Use position changes before altering settings; physical moves are the quickest fix.
“Positioning is a core technique: it controls glare so the subject remains the focus.”
Mastering the Angle of Light for Better Feather Detail
Careful control of the light angle reveals tiny iridescent details that a quick glance would miss. This is vital when feathers display structural coloring that shifts with view and lighting.
The Pelagic Cormorant shows blue or green metallic tones that appear only at certain angles. The Fiery-throated Hummingbird needs exact alignment to flaunt its dazzling iridescence.
Position the camera so the light source sits behind the photographer. That front lighting usually brings out the best color and keeps the subject clear.
- Use a fast shutter to freeze wing beats and preserve micro detail.
- Adjust aperture to control depth of field and keep feather texture sharp.
- Watch exposure and tweak settings quickly as the lighting angle shifts.
- Practice patience: wait for the split second when light, subject, and angle align.
“Mastering angle and lighting turns subtle iridescence into a signature image.”
Managing Backgrounds to Enhance Subject Clarity
A distant, even-toned setting can turn an ordinary shot into a professional-looking photograph. Choosing where the camera sits relative to the backdrop helps the subject pop and keeps the frame clean.
Identifying Distracting Elements
Scan the frame for bright patches, cluttered branches, or busy sky that steal attention. Move the camera or change angle to exclude those items.
Creating Depth with Blur
Use a telephoto lens and a wide aperture to compress the scene and create smooth blur. That soft background separation makes the subject more distinct.
Choosing Distant Backgrounds
The Greater Yellowlegs example shows a distant, even-toned backdrop lets the subject stand out. Photographers often scout locations to find clean spans of color or texture.
- Tip: Adjust shutter and aperture together when using a telephoto lens to keep exposure accurate and the subject sharp.
- Pick camera positions that avoid bright sky or clutter near the subject.
- Clear backgrounds are a key technique that lifts amateur images toward professional results.
“A calm background gives the image depth and lets the subject command the frame.”
Utilizing Catchlights to Bring Subjects to Life
Eyes that catch the light create an instant connection between viewer and subject. A catchlight is the small reflection of the light source inside the eye that prevents a subject from appearing lifeless.
Direct sun makes a sharp, defined catchlight. Diffuse lighting yields a softer, subtler highlight. Both types work, but each gives a different mood to the image.
Photographers often position the camera so the main light sits just to one side or slightly behind the camera. That angle helps the eye catch a bright point without creating harsh glare on feathers or water.
- Tip: Use a fast shutter and suitable aperture to keep the eye sharp while controlling exposure.
- Even a tiny catchlight can change a plain shot into a professional photo.
- Practice with direct and cloudy conditions to learn how each lighting type affects the eye.
“A single highlight in the eye can make an image feel alive and connected.”
For more detail on catchlights and how they work, see this definition guide: catchlights explained.
Adjusting Camera Height for Optimal Perspective
Changing the camera’s vertical position shifts perspective and can make subjects feel more grounded and natural. Lowering the camera to eye level with the animal often creates a stronger emotional link. This approach helps the viewer meet the wildlife on its terms.
Professionals often kneel or lie low to find the frame that flatters posture and habitat. Small moves forward or back change the angle and how background light wraps the subject. When the camera sits lower, backgrounds tend to blur and isolate the main element.
Always check your settings after moving the camera. Adjust shutter speed and aperture to protect exposure and keep motion sharp. A quick meter read avoids surprises when light shifts.
- Try several heights to find the most compelling view.
- Use a lower stance to isolate the subject from cluttered backgrounds.
- Practice often; varied positions build an instinct for the best camera placement.
“A lower perspective can turn a routine photo into an intimate wildlife portrait.”
Selecting the Right Focal Length for Indoor Scenes
Choosing the correct focal length shapes how much of a scene the lens records and how closely the subject appears. A 1000mm equivalent, made by using a 2x extender on a 500mm lens, lets a shooter frame tight images from a comfortable distance.
A high-quality telephoto lens keeps detail sharp and helps control background blur. That makes the main subject stand out while the rest of the scene falls away.
Using long focal lengths also preserves calm. By staying farther back the photographer avoids stress on the subject and can capture natural behavior.
Keep shutter and framing in sync. A longer lens magnifies motion, so a faster shutter often helps keep photos crisp.
- Tip: Match focal length to room size to avoid cropping later.
- Test a telephoto lens at several distances to learn how it renders background and compression.
- Remember: focal length directly affects composition and how much of the scene is included.
“Long focal lengths isolate the subject, giving images a clean, professional look.”
Fine-Tuning Exposure Settings for Challenging Lighting
Tackling tricky light starts with exposing for the subject, not the bright background. When the sun or a strong lamp sits behind the subject, exposure compensation prevents an underexposed silhouette. Set a positive compensation value and check the histogram to protect midtones and detail.
Adjust shutter speed and aperture together to keep motion frozen while holding depth of field. A faster shutter locks action; a narrower aperture helps the lens retain sharpness and keeps the background balanced.
Use bracketing to capture a range of tones when the sky or background is far brighter than the subject. Bracketed frames let a photographer merge exposures later or pick the best single shot.
“Every shot requires attention to light and quick exposure tweaks to elevate a good photo into a great image.”
- Tip: Fine-tune exposure on the camera and review hits on the LCD.
- Try small shutter speed shifts before raising ISO to preserve image quality.
- Bracket three frames when the scene has strong contrast between subject and background.
Conclusion
Good positioning and thoughtful light handling turn tricky scenes into strong images. Small moves, steady meter checks, and clear choices about angle help control any unwanted reflection while keeping the subject crisp. This approach makes better photos more reliably.
Practice matters. They should test camera height, focal length, and exposure until a single photo shows eye detail and clean background tones. Use each session to learn what works with available light.
With time, these habits let a photographer manage reflections and craft standout photos from ordinary moments. Keep experimenting to develop a personal style and consistent results.