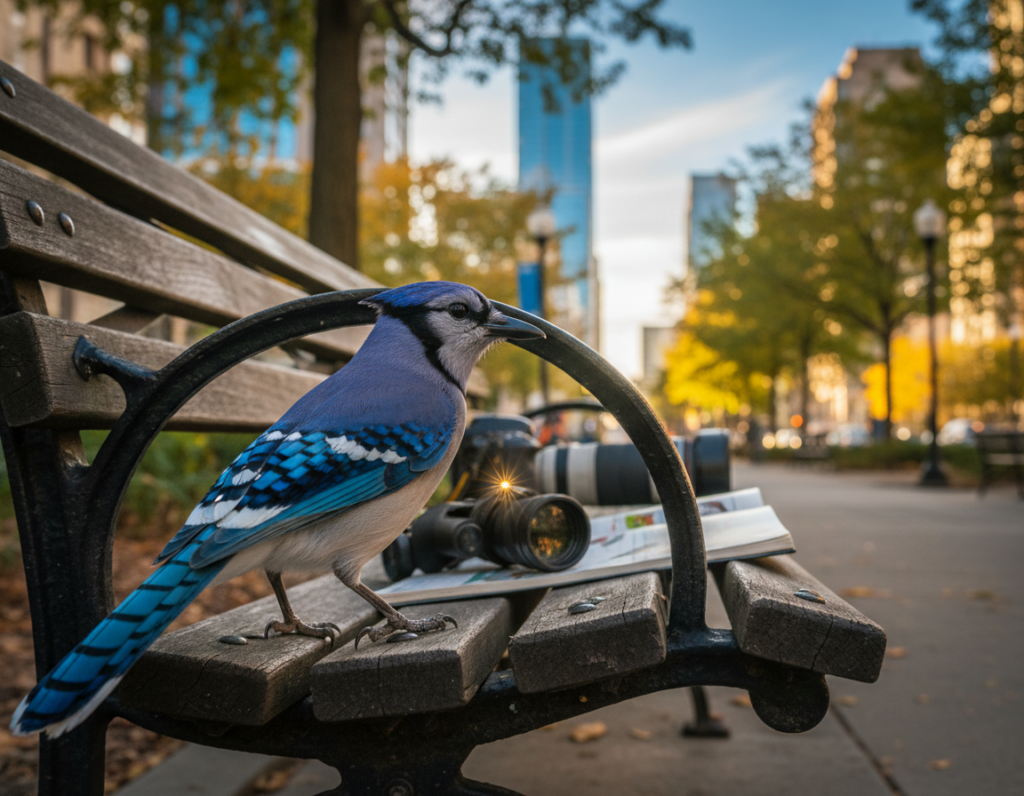
Bird photography without tripod indoors is a practical choice for urban observers who want clear images from small spaces. This introduction outlines simple setups and steady supports that replace bulky stands. It sets the tone for hands-on, repeatable methods that fit apartment life.
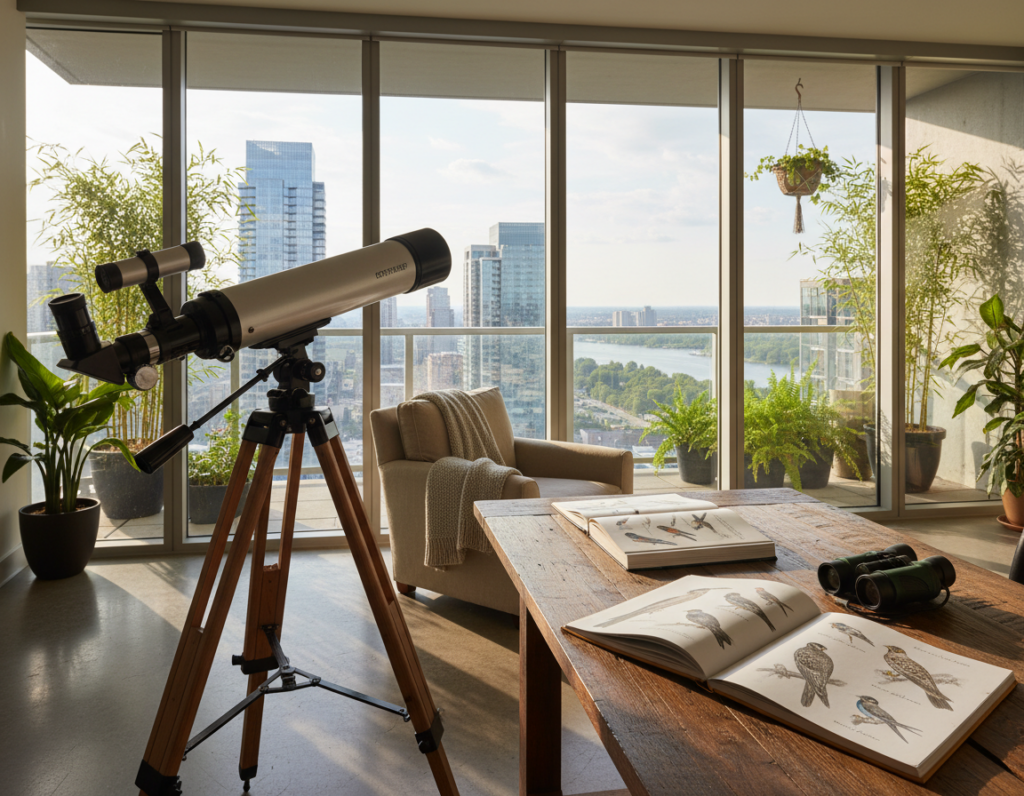
Many in the United States find backyard bird photography rewarding. They set a compact station by a window and spend time each day studying local birds. This routine builds skill and patience.
Professionals show that a tripod is not the only way to steady a camera. Using cushions, clamps, or shelf mounts can yield sharp results. Consistent practice and the right gear help photographers document species in a small area.
Challenges of Indoor Bird Photography
Capturing feathered visitors from a small apartment window brings a set of practical hurdles. Urban wildlife work shifts the demands on skill, timing, and patience.
Movement is the biggest issue. Many species spook easily when they sense motion. A professional observer must learn local patterns and move very slowly to avoid startling subjects.
Colorful birds often prove the hardest to approach. Their bright plumage and quick reactions mean fewer steady shots. Photographers must adapt gear and technique to keep image quality high in tight spaces.
- Remaining extremely still to avoid alerting a bird.
- Preventing reflection and motion detection through glass during backyard bird photography.
- Anticipating species movement to keep shots professional despite limited space.
- Overcoming physical barriers that separate the observer from wildlife.
Understanding behavior, practicing patience, and planning sessions around peak activity make this kind of photography successful in apartments.
Essential Gear for Bird Photography Without Tripod Indoors
A smart camera and lens setup lets an apartment naturalist keep distance and still capture detail. Choosing the right combination is one of the most important things for success.
Camera Bodies
Professional bodies such as the Nikon D850 and Sony a1 deliver the resolution and speed needed for backyard bird photography. Many experts prefer a full-frame sensor for better low-light performance and detail. Renting a high-end body is a practical way to test if a model fits the user’s workflow.
Telephoto Lenses
A telephoto lens with a focal length of 200mm or higher keeps a safe distance from birds while filling the frame. Fast, responsive focus and a useful focal range make it easier when a subject enters the scene suddenly. Renting a quality lens is common for those who want to try glass before buying.
- Nikon D850 or similar bodies offer the resolution needed in varied light.
- Select a lens with 200mm+ focal length to maintain comfortable distance.
- Remember: camera and lens choices directly impact clarity and results.
- Rent glass to test handling and range before investing.
Setting Up Your Apartment Shooting Station
A dedicated window station turns random visits into reliable shooting opportunities. The photographer should pick a quiet area with a clear view of feeders or perches. This reduces reaction time and helps capture sharp results for backyard bird photography.
Comfort matters. They will likely spend long periods waiting, so choose a seat that supports steady posture. Organize the camera, batteries, and a cloth in one place so gear checks do not interrupt a session.
Consistency is key. Staying in the same position helps birds grow accustomed to presence and reduces sudden movement. A stable camera position also saves time and keeps focus ready when a subject appears.
“A well-planned station ensures the camera is always in the right place to capture a bird without making sudden movements.”
- Choose a position with an unobstructed view of the feeding area.
- Make sure the camera is reachable and set to quick-release settings.
- Dedicate a single place for gear so they can remain still for longer periods.
- Keep the station quiet to avoid startling passing birds.
For practical tips on improving timing and approach, see a concise guide on how to photograph birds.
Managing Limited Space and Angles
When space is scarce, small adjustments to perches and viewpoint make a big visual difference. A simple branch placed near a window creates a more natural perch than a feeder and gives the subject a lifelike pose.
He or she should check the background before each session. A cluttered background distracts from the bird and reduces the impact of a clean composition. Moving the branch a few inches or changing position often produces a softer, blurrier backdrop.
Creating Natural Perches
Different species favor different perches. Experiment with branch thickness and height to attract more birds. Over time, this variation can increase species variety at the station.
- Use a real branch to mimic natural posture and make the subject look professional.
- Always scan the background and adjust position to keep it uncluttered.
- Place the branch where angle and distance create a shallow depth of field.
- Small shifts in position change how light and color render the species.
For practical examples and setup ideas, consult a compact backyard bird setup guide to refine placement and time your sessions.
Controlling Reflections Through Glass
A simple seal between lens and glass often makes the biggest difference when shooting at a window. Placing the lens hood flush against the pane blocks stray room light and removes mirror-like reflections.
Use a polarizing filter to tame glare from outside. A good polarizer works with the lens to reduce shiny spots and preserve color. Rotate it while composing to find the best balance of contrast and saturation.
Keep interior lights off and close curtains to prevent any light from hitting the glass. Even a small lamp can cause a distracting blur or ghost image on the final frame.
- Press the lens hood gently against the window to remove reflections.
- Fit a high-quality polarizer to manage surface glare and improve contrast.
- If a blur appears, shift the camera’s place slightly until reflections vanish.
- Control apartment light so the subject and background remain clean and sharp.
“A tight seal and careful light control turn the glass from a barrier into a neutral viewing plane.”
Camera Settings for Sharp Indoor Images
Getting sharp results starts with deliberate choices for exposure and white balance in compact setups. Good settings let a shooter freeze motion and keep color accurate. These adjustments help capture clear images of birds at a window or feeder.
Shooting in RAW
Shoot RAW to retain all sensor data. RAW files allow recovery of highlights and shadows and make white balance shifts safer in post. A photographer working on backyard bird photography will thank them later.
White Balance and Shutter
Set white balance to Direct Sunlight for steady daylight scenes. In mixed light, use a custom Kelvin to match the tone.
- Shutter speed: Use 1/2000s or faster to freeze fast motion.
- Manual mode: Control shutter and aperture independent of the background.
- Watch shadows: Adjust exposure to avoid underexposing dark plumage.
“Make sure camera settings match the light so every image is sharp and well exposed.”
Mastering Shutter Speed for Fast Movement
Freezing rapid wingbeats demands deliberate shutter choices and constant readiness. A shutter speed of 1/2000s or faster is recommended to capture a bird in flight and avoid motion blur.
When the subject perches on a branch, the shooter can often relax to around 1/800s. Distance changes perception of motion; closer subjects seem to move faster and require higher shutter values.
They should keep camera settings primed so a quick takeoff does not ruin the frame. Adjust aperture and ISO to support the chosen shutter speed, and watch light at different times of day.
“Make sure the shutter is fast enough to freeze action; motion blur is hard to fix later.”
- Mastering shutter speed is essential for success in bird photography.
- The distance to the subject dictates how fast the shutter must be.
- At changing light levels, tweak shutter and ISO to preserve sharpness.
Optimizing Aperture for Depth of Field
Aperture choice is the simplest lever to separate a subject from a busy background. Setting the right f‑stop helps control what is sharp and what melts into blur.
Understanding Depth of Field
Wide apertures such as f/5.6 are common in bird work because they create a shallow depth of field. This softens the background and makes the subject stand out.
Opening the aperture also lets the shutter move faster in low light. That link between aperture and shutter is key to freezing motion and keeping images crisp.
Focus must be precise when depth of field narrows to 1–2 inches. Many lenses have a sweet spot where sharpness improves; know that range and test it for best results.
- Optimizing aperture controls depth and isolates the bird from cluttered background.
- Use a wide f‑stop to get a soft background, but pin focus on the eye or head.
- Balance aperture with shutter speed and ISO so the image stays sharp in changing light.
- Test your lens to find the sharpest aperture range for peak image quality.
“Choose aperture to sculpt depth — it transforms a busy scene into a clear, focused subject.”
Managing ISO and Noise in Low Light
Low light forces deliberate trade-offs between ISO, shutter speed, and image clarity.
They often use ISO 1200 on a Nikon D850 as a practical starting point. This preserves detail while keeping noise manageable in an apartment setting.
Avoid Auto ISO when the background is much darker than the subject. Auto adjustments can bias exposure toward the dark background and ruin the final frame.
Test camera settings before a session so they know the highest usable ISO and how the lens and sensor render noise. Modern denoising tools can recover files shot at higher gain, but prevention saves time.
“A noisy but sharp image is often better than a clean but blurry one.”
- Managing ISO is crucial in low light for clear bird images.
- Make sure shutter speed remains high enough to freeze motion, even if ISO rises.
- Professionals test their kit to find the top ISO they can accept before a wildlife session.
- Understand this camera’s noise profile so post processing keeps the image natural.
Focus Techniques for Stationary Subjects
Precision focus makes the difference between a keeper and a throwaway image when a subject perches nearby. This short guide explains two dependable approaches to lock focus and keep the eye sharp on a resting bird.
Single Point Autofocus
Single point autofocus lets the photographer place the focus point directly over the eye. This is the most reliable choice for a stationary subject on a branch in a backyard bird setup.
Use a small AF area so the camera does not hunt onto wings or tail. He or she should move the point quickly when the bird shifts position.
Eye Tracking
Eye tracking is a modern tool that keeps the eye in focus even with small movements. When enabled, it helps maintain sharpness if the bird makes minor adjustments.
Combine eye tracking with sensible settings and a steady lens mount for the best results.
“Keep the eye sharp; it makes the whole image read as professional.”
- Use single point AF for a tight focus on the eye.
- Make sure the AF area is small to avoid focusing on the branch.
- Enable eye tracking to follow slight movements and preserve sharpness.
Capturing Birds in Flight Within Small Areas
Freezing a fast wingbeat in a cramped window frame tests both timing and gear. A shooter should set the shutter speed to at least 1/2000s to make sure motion is frozen and the subject reads sharp.
Pre‑focus on a likely spot, such as a feeder or perch. This reduces focus lag and raises the chance of a usable image when a passerby streaks through the frame.
Use continuous autofocus to track movement across short space. A zoom lens helps reframe quickly as the species changes angle or distance.
- Practice timing: learn when birds take off and land to anticipate flight.
- Lock a spot: pre‑focus on a visible perch to cut reaction time.
- Use continuous AF: it keeps the eye sharp as the subject moves.
- Keep settings ready: fast shutter, suitable ISO, and an adaptable zoom.
“Capturing a flying subject is the ultimate test; preparation beats luck.”
By drilling these techniques, a backyard bird enthusiast can improve their wildlife results and reliably capture thrilling flight frames.
Using Natural Light and Backlighting
Soft, directional sun transforms a simple window perch into a studio-grade scene for backyard subjects. Natural light defines texture and color more than gear alone. A photographer who reads the light gains consistent, flattering results.
Timing Your Sessions
Morning and evening offer the famed “butter light” that flatters feathers and adds warmth to an image. He or she should plan sessions near dawn or near dusk to capture this soft glow.
Shooting with the sun behind the photographer keeps the subject well lit and colors true. Adjust camera settings and shutter speed so highlights stay clean while detail remains in shadowed areas.
Backlighting is a creative choice. It can produce rim light or striking silhouettes if the sun sits behind the subject. When using backlight, watch where shadows fall and move to a better position if needed.
- Use morning light for detail and low contrast.
- Place yourself so the sun enhances color, not washes it out.
- Try backlighting for mood, then tweak exposure to protect highlights.
- Observe shadows to pick the best place and time for each species.
“Timing and position turn natural light into a deliberate tool, not just luck.”
Managing ISO and Noise in Low Light
In dim conditions, knowing how your camera handles high gain saves many usable frames. They should test their body and lens before a session to learn the threshold where noise becomes distracting.
A practical starting point is ISO 1200 on a Nikon D850. That level often keeps detail while limiting grain in apartment light.
Avoid Auto ISO when the background is much darker than the subject. Auto changes can bias exposure and underexpose the main subject. Instead, set a fixed ISO and adjust shutter and aperture to keep motion frozen.
- Manage ISO: test to find the highest usable value for your camera.
- Keep shutter speed high: a sharp image beats a clean but blurry one.
- Use denoising tools: modern software can recover files shot at higher gain.
- Watch background: avoid settings that push the camera to favor dark backgrounds over the subject.
“A noisy but sharp image often outperforms a clean but blurry frame.”
Stabilizing Your Camera Without a Tripod
Simple household supports can deliver pro results when space is tight. Using a soft rest and firm contact removes shake and helps keep the eye sharp on a bird. These methods work well for backyard bird photography and fast flight sequences.
Beanbags
A beanbag molds to the lens and holds a steady aim. Place it on the sill or a shelf and seat the camera so the lens has soft support. This low-cost aid reduces micro‑movement and helps keep shutter speeds manageable.
Heavy Jackets
Fold a winter jacket into a dense roll and use it as a rest. A packed jacket gives weight and cushion to stabilize the camera and lens. A photographer can tweak the roll to change position and angle quietly while waiting for birds.
Window Sills
Press the beanbag or jacket against the sill to create a rigid contact point. This contact minimizes vibration through glass and steadies aim during takeoff and flight.
- Stable rest: beanbag or jacket improves sharpness fast.
- Comfort: make sure you are comfortable and still for long waits.
- Smart position: use the sill as a firm base for the camera and lens.
“A steady support often saves more frames than swapping to a bigger lens.”
Post-Processing Tips for Indoor Shots
A careful edit often rescues moments compromised by low light or slight motion.
Start with selection. A professional reviews all captures and chooses the best frames before any detailed work. This saves time and focuses edits on images that matter.
Crop and recompose to tighten the frame and remove distractions. Small crops improve impact and make the subject read cleaner on-screen.
- Noise reduction: Apply targeted denoise on shadow areas to retain feather texture while minimizing grain.
- Sharpening: Use local sharpening tools on the eye and edge detail to recover slight motion blur.
- Exposure & color: Adjust highlight and shadow sliders so the image looks natural and balanced.
- Final review: Export at the right size and file format for sharing or printing.
“A polished edit can turn a usable capture into a professional result.”
By mastering these steps, a shooter improves final output from every camera session and ensures each image shows the finest detail.
Patience and Observation Strategies
Spending focused time at dawn or dusk teaches more about local movement than frantic shooting. A thirty-minute quiet watch often reveals flight lines, favored perches, and approach routes.
Patience is the cornerstone of successful bird photography. A patient photographer lets the subject act naturally and avoids startling it.
Watching how a species uses a branch or feeder helps predict where to aim the camera. Learning these habits improves timing and shutter reactions.
“Often, waiting yields the shot; practice observing first, then shoot.”
- Make sure to watch patterns for at least 30 minutes every session.
- Note typical flight paths to pre‑focus and reduce lag.
- Spend mornings and evenings when activity and light are best.
- Study species behavior to judge distance and likely movement.
By turning observation into a regular part of a routine, backyard bird photography becomes more efficient. The result is more consistent, higher‑quality images with less wasted effort.
Conclusion
A compact routine and a few simple supports turn tight apartment views into reliable shooting labs.
Strong, steady habits beat expensive gear when a shooter wants consistent results. They rely on patient observation, practiced timing, and deliberate settings more than large stands.
Mastering shutter speed and ISO helps freeze motion and keep detail in low light. Using a beanbag, a rolled jacket, or a secure sill supplies effective stabilization for long sessions.
By studying behavior and flight paths and by practicing often, a photographer will raise the rate of keepers. Enjoy the process, keep learning, and celebrate steady progress.